
You can read every spec sheet and watch every video, but a helmet that does not fit right is a helmet you will not wear, and a helmet you will not wear is no helmet at all. I learned that the hard way about four years ago, when I ordered a 3/4 shell online in the same size as the one it was replacing. It pinched at the temples, slid forward every time I looked down at the gas gauge, and by the time I reached the ferry on a Sunday morning I was already thinking about turning around. I sent it back and replaced it with an ILM open face 3/4 helmet, but only after I went back to basics and figured out what the numbers on the size chart actually mean.
Sizing a helmet is not like sizing a hat. It is like sizing a pair of work boots you are going to stand in for ten hours. A hat just sits there. A helmet has to stay put in wind, over bumps, and when you turn your head to check traffic. This is the process I use now, step by step, so you can order the right size the first time and spend your riding season on the road instead of on the phone with a return label.
Start With a Number, Not a Guess
The ILM open face 3/4 helmet is the one I reach for on dry weekend rides, but only in the right size. Measure your head first, then check today's price and order the size that matches.
Amazon Check Today's Price on Amazon →What You Need Before You Start
Grab three things before you begin: a soft cloth measuring tape, the kind in a sewing kit, a mirror, and about 15 minutes with no rush. No cloth tape? A piece of string and a ruler work just as well. And pull up the size chart on the product page before you order, because the chart is the part most people never actually look at.
Order from a place with a decent return policy, because the right fit sometimes takes two tries. There is no shame in sending one back. A helmet that fits correctly is worth the extra trip to the post office, and it beats a season of riding something that shifts around at speed.
Step 1: Measure the Widest Part of Your Head
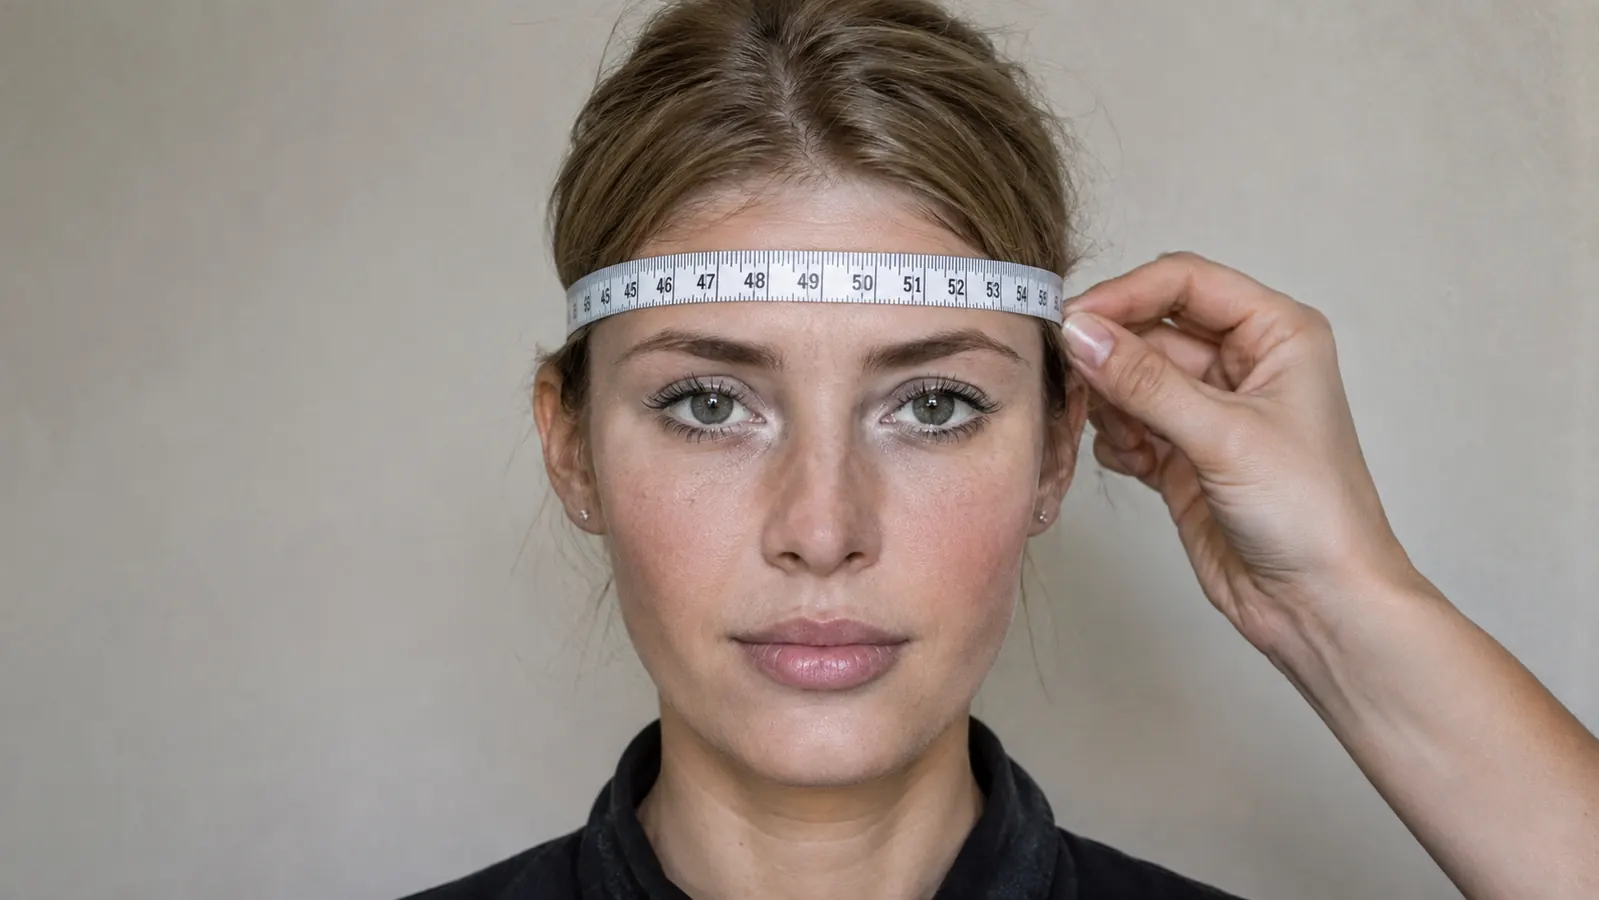
Wrap the tape around your head about an inch above your eyebrows, at the widest point. That is roughly where a hat sits, and it is where the helmet's brow pad will sit, so it is the measurement that matters. Keep the tape level all the way around, snug but not tight, the way you want the helmet itself to feel.
Write the number down in inches and centimeters, then do it twice. Heads change through the day, after a haircut, and as we get older. If your two measurements disagree, use the larger one. And if you ride cold mornings with a balaclava under the helmet, measure with the balaclava on. That is the size you actually need in January, and it is a different number than your bare-head size. I have Deb read mine off for me, and it came out a half inch different from my own attempt, which is exactly why I do it twice now. If your hair is longer than a buzz cut, tie it low and measure over it, because that is the fit you will actually ride with.
Step 2: Use the Brand's Size Chart, Not Your Hat Size
Your hat size is a starting point, not an answer. Helmet sizes are not standardized the way jacket sizes are. One brand's large can be another brand's extra large, and the difference shows up in the liner, not the shell. The ILM open face 3/4 helmet has a size chart right on the product page, with a measurement range for each size from small up through the big sizes. Find where your number falls and start there.
If you land between two sizes, go with the smaller one only if it fits without hard pressure points after the 15-minute test in Step 3. The liner packs down, so a snug helmet becomes correct and a loose one becomes dangerous. Buying a size up to make room for a balaclava or long hair is the most common mistake I see in the question section on this helmet. A thin balaclava and a low ponytail fit fine in the right size. A loose helmet does not fix anything.
One more thing about shape. Helmets are not all the same shape inside. Some run round, some run long oval. The ILM shell tends toward the rounder end, so if you have a long, narrow head, expect it to feel tight at the forehead even in the right size. That is normal for this style of 3/4 shell. If the forehead pressure does not ease in the first couple of rides, this particular helmet may not be the shape for you.
Step 3: Try It On for 15 Minutes, Not 15 Seconds
When the helmet shows up, do not do the 30-second on-and-off dance in the kitchen. Put on whatever you will wear under it on a real ride, then wear it for a full 15 minutes while you walk around the house. The liner needs time to settle against your head, and pressure points need time to announce themselves. This is the step that catches most of the problems, so do not rush it.
The correct fit is a firm, even contact all the way around your head. No gaps, no single hard spot. Do the shake test: grab the shell with both hands and try to rotate it side to side. Your skin should move with the helmet. If the helmet moves over your skin, it is too big. Then do the brow test: press your thumbs up under the front edge of the shell. If you can lift the helmet up off your brow, it is too big.
Pay attention to the spots that are sore at minute 14, because those are the spots that will ache at mile 40. Temples, forehead, and the base of the skull are the usual suspects. Also know that a 3/4 helmet is supposed to feel different from a full face. There are no cheek pads pressing on your jaw, so riders often think a correct 3/4 fit is too loose. Judge it by the crown and brow, not by the cheeks.
Step 4: Tighten the Chin Strap and Do the Roll-Off Test
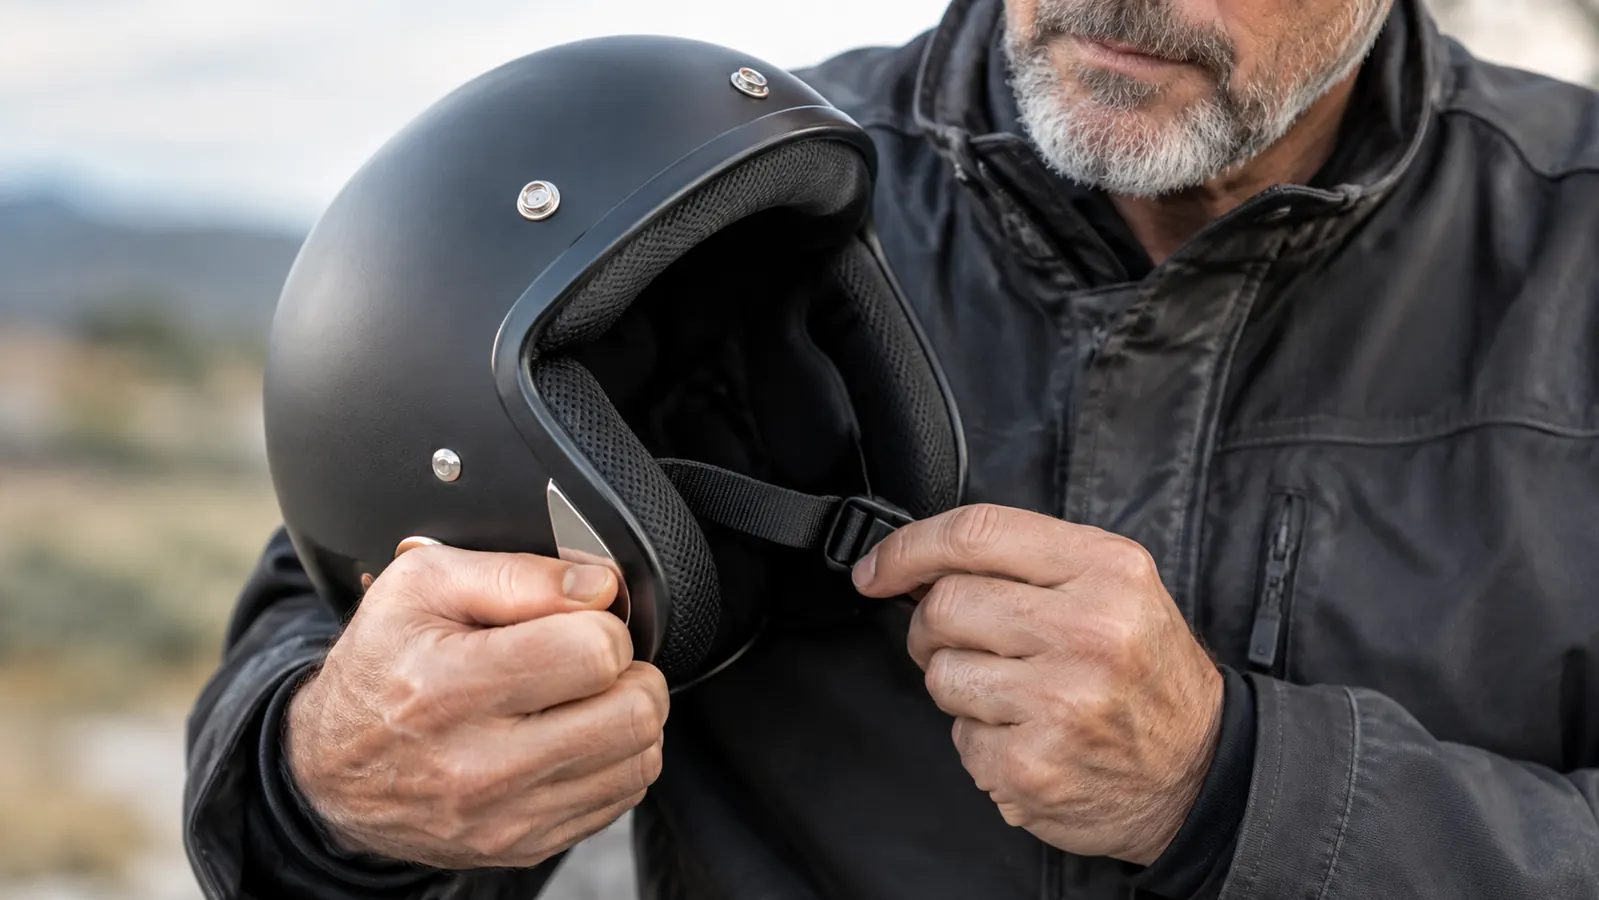
A 3/4 helmet has no chin bar to catch on the pavement, so the chin strap is the thing that keeps it on your head. That means the strap deserves more attention than it gets. Buckle it, then tighten until it is snug under your jaw without choking you. You should be able to slide one finger between the strap and your throat. If you can fit two fingers, it is too loose.
If the strap uses D-rings, route the loose end back through the rings the way the instructions show, and pull it snug. Most riders skip that step and then wonder why the strap loosens over the course of an afternoon. The extra pass through the rings is what locks it in place. Take the extra ten seconds every time you buckle up.
Now do the roll-off test, the one I trust most. Buckle the helmet, then try to roll it off your head from the back using both hands. It should not come off. If it does, the helmet is too big or the strap is too loose. Do the test exactly the way you ride, with your sunglasses on and a balaclava if you wear one. Fit changes with what is underneath.
Step 5: Do the Break-In Math Before You Ride
Helmet liners pack down. In the first couple of weeks, most of them compress maybe 5 to 10 percent as the foam conforms to your head. That is why the helmet should feel snug, even a little firm in spots, on day one. If it feels comfortable the first time you put it on, it is probably too big, and in a month it will be loose.
Take a few short rides, 20 minutes around the neighborhood, then re-check the brow test and the shake test. If the helmet settles into a correct fit, you are done. If it was loose on day one, send it back before the return window closes. This is also the time to confirm the DOT sticker on the back of the shell, the one that references the FMVSS 218 standard. A genuine DOT-certified helmet carries that label, and the ILM 3/4 does. If a helmet has no label, do not ride with it.
And plan on replacing the helmet down the road. A helmet that has taken a hard hit on concrete is done, even if the shell looks fine. A helmet is good for roughly five years from its manufacture date, and a frayed chin strap is a reason to retire it early. I keep a date written on a piece of tape inside the liner of mine so I know when it is time.
When to Stop Wearing a Helmet
This is the part nobody likes, so I will keep it short. Replace the helmet if it has hit the ground hard, if it is past five years from the date on the sticker, or if the strap is worn. A 3/4 helmet is not a forever item. It is a piece of safety gear with a service life, and the fit advice in this article only matters if the helmet you are sizing is still doing its job.
What Else Helps
A thin balaclava makes a 3/4 helmet much more comfortable on cold mornings, and it changes the fit slightly, so keep it in mind when you measure. Store the helmet out of direct sun and off the seat when you park. Heat is hard on the liner. And wash the removable pads the way the instructions say, because sweat breaks down the foam and makes the fit go sloppy over a few seasons.
Wear the new helmet around the house for an hour while you watch a game before you take it on a real ride. If it still fits right after that, it will fit right at mile 50. And re-measure your head every few years. I went up a size in my late forties and did not realize it until I tried on a new helmet in a shop. You do not feel the change happen, but the fit does.
If you wear glasses, the 3/4 style is friendlier to them than a full face because there is no cheek pad to catch the arms. But the frame arms still need to sit flat against your head without forcing the shell out. Try the helmet on with the glasses you actually ride with, not the ones you wear at the kitchen table.
A helmet that moves on your head on day one will only get looser. Snug now is what correct looks like in a month.
I have been riding the same Road King for nine years, mostly weekend runs around the Puget Sound and one longer trip every summer, and the ILM 3/4 is the open face helmet I reach for when the weather is dry. But I only reach for it because the size is right. Take the 15 minutes, do the measurements, and run the tests in order. The right size is not a guess, and it does not take a second order to find.
Snug on Day One Means Correct in a Month
You have the measurement and you know the tests. Check today's price on the ILM open face 3/4 helmet, order the size that fits, and do the 15-minute test before you ride. Getting it right the first time is the whole point.
Amazon Check Today's Price on Amazon →